Admin
Assignments
One persistent sheet per raid team. Pick characters into groups; role tallies, buff-eligibility, and boss-assignment pickers all derive from the team's roster.
Buffs & Assignments
32 sections
Earth Shield
Paladin Seals
Greater Blessings
Blessing of Protection
Innervate
Soulstones
Curses
Debuffs
Tanks & Tank Healers (Based on Roster)
☠
✚
■
☾
▲
◆
Serpentshrine Cavern
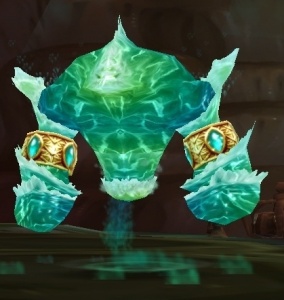
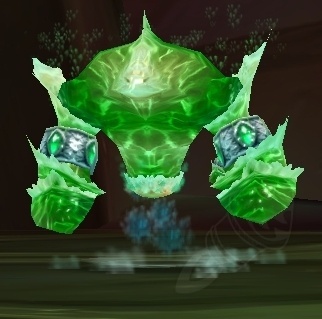
Hydross the Unstable
Serpentshrine Cavern
WATER PHASE → POISON PHASE
- Boss starts on south side.
- Stream-change line in the middle splits Frost ↔ Nature.
The Lurker Below
Serpentshrine Cavern
- Inner ring vs. outer ring positioning.
- MT center on platform; A/B/C spout teams to corners.
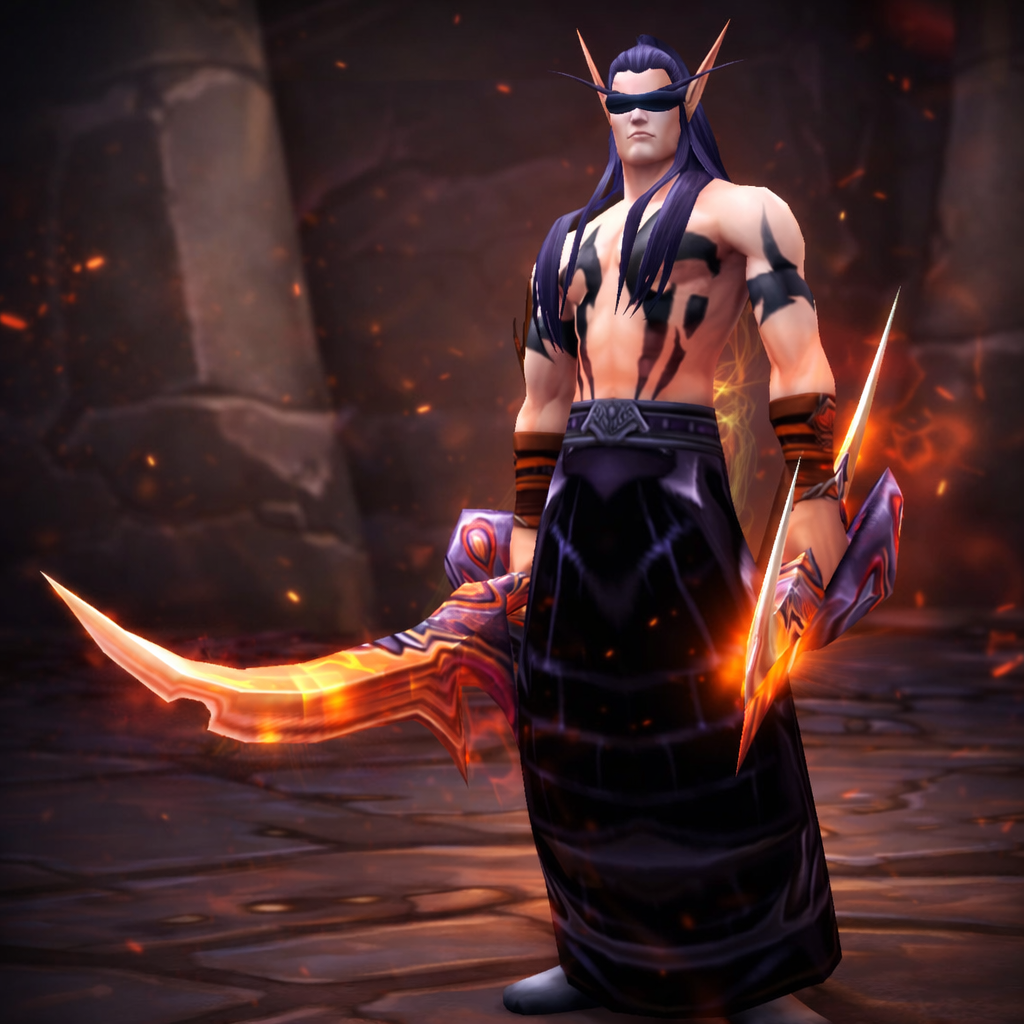
Leotheras the Blind
Serpentshrine Cavern
- Warlock tanks demon on left wall. Hunter & raid spread.
- Whirlwind = drop threat at 5 stacks.
Fathom-Lord Karathress
Serpentshrine Cavern

- Raid stacks center. LOS tank pulls Tidalvess behind pillar.
- Kill order: Caribdis → Sharkkis → Tidalvess → Fathom-Lord.
Morogrim Tidewalker
Serpentshrine Cavern
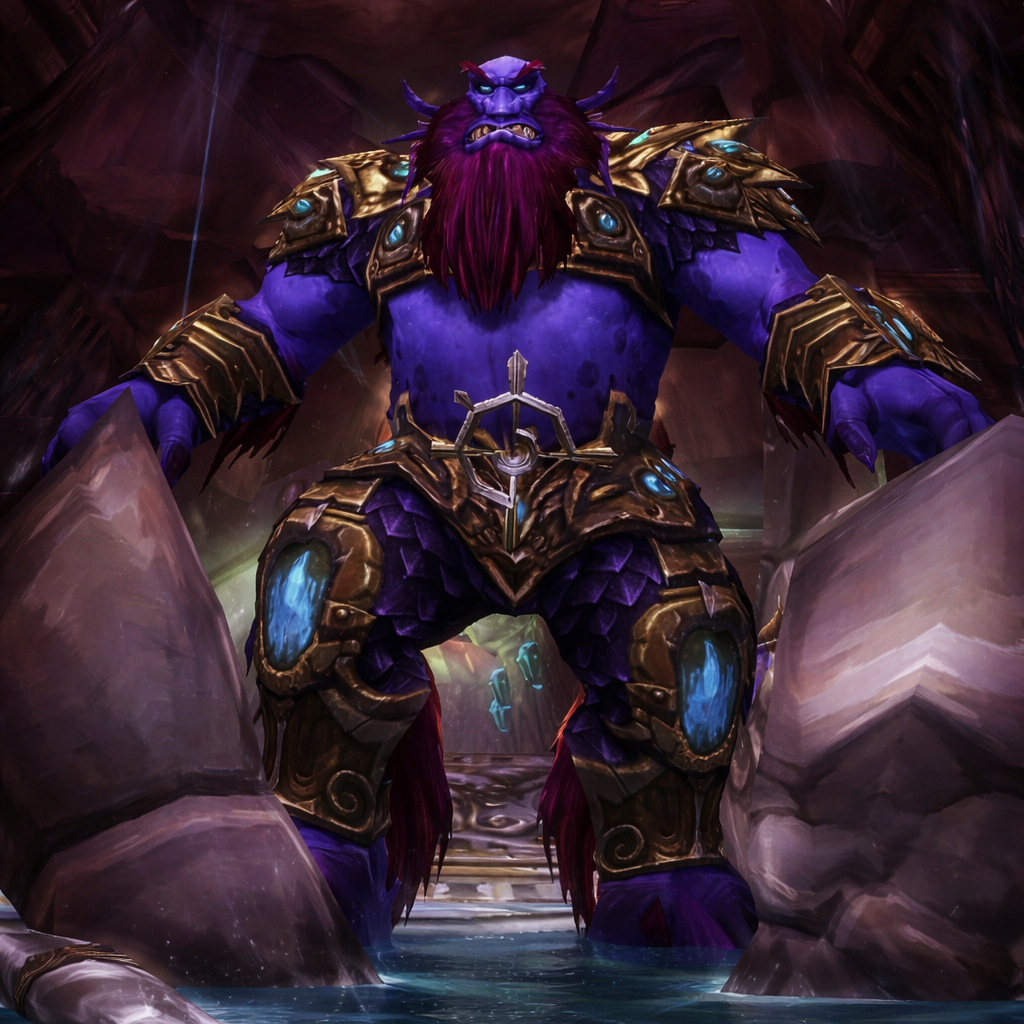
- Grave healer on NORTH; MT center.
- Murloc waves rotate north → south.
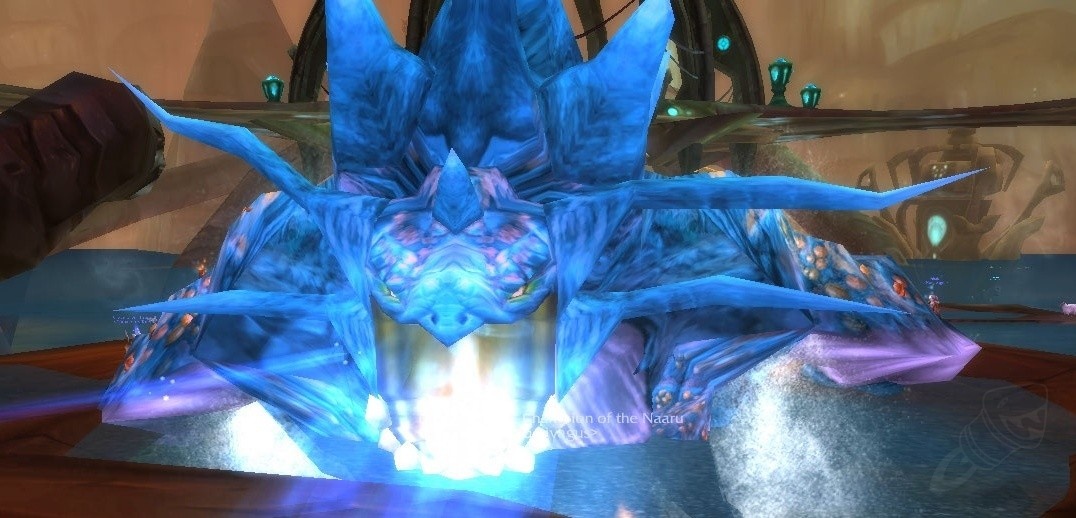
Lady Vashj
Serpentshrine Cavern
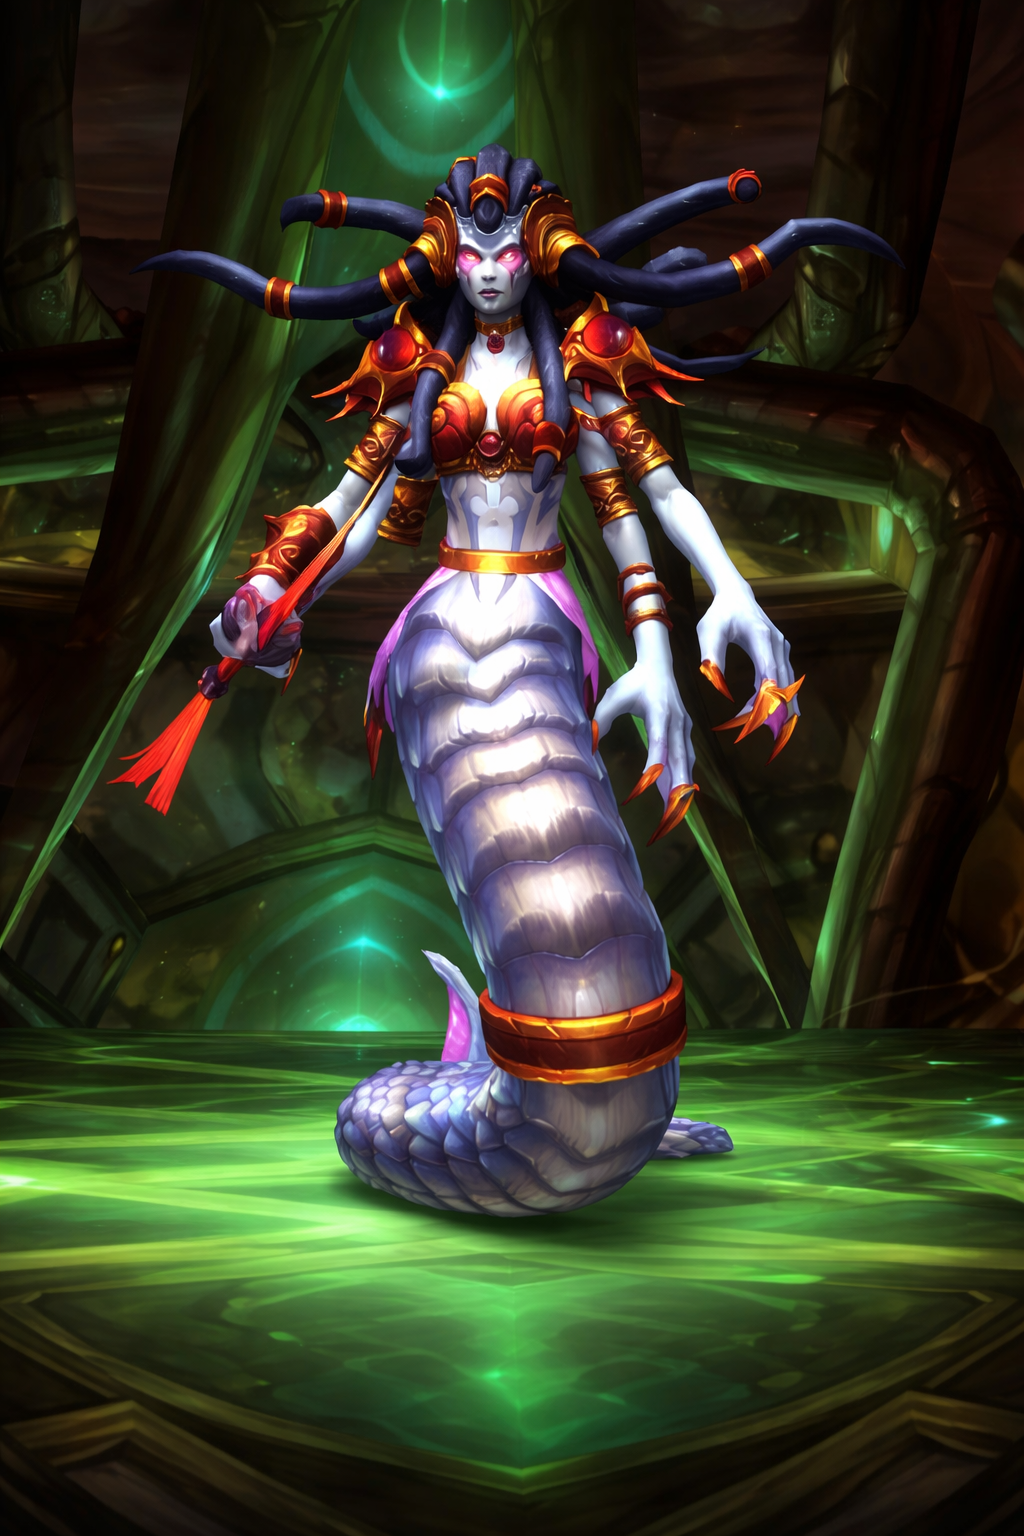
P1 — Run out ASAP with Static Charge
- Rogues cloak it.
- Move boss to edge at 74% or on pull.
Tempest Keep — The Eye
Al'ar
Tempest Keep — The Eye

4 platforms
- Tank 2 stands 1 platform away.
- Tank 3 stands across the room.
- Melee jump down on flight.
- Tank 1 & 2 swap on Melt Armor.
Void Reaver
Tempest Keep — The Eye
- Spread 15y.
- Orbs target random raid members — eat the orb if it lands.
High Astromancer Solarian
Tempest Keep — The Eye
- Post-nerf Wrath = living bomb.
- Get out and blow up at marked corners.
Kael'thas Sunstrider
Tempest Keep — The Eye

Advisors
- Tank Sanguinar near pillar.
- Soaker stands on Conflagration mark.